

Submitting an app to Google Play is not difficult, but it does require preparation. The Play Console asks for product information, store assets, policy declarations, pricing details, and a signed app release before your app can go live.
This guide keeps the original 2021 Play Console flow as a practical publishing checklist. Google updates Play Console requirements over time, so always review the latest Google policy prompts inside your account before submitting a production release.
Before you start
Prepare these items first:
- A Google Play Console developer account
- A tested Android app
- A signed Android App Bundle
- Store listing copy and visual assets
- A support email address and website
- A privacy policy if your app requires one
- A plan for collecting feedback after launch
Testing matters. Before sending users to the store, run through core flows, crash scenarios, login, payments, and device-specific behavior. If your app already has a beta audience, use in-app bug reporting to collect reproducible reports before the public release.
Create your app in Play Console
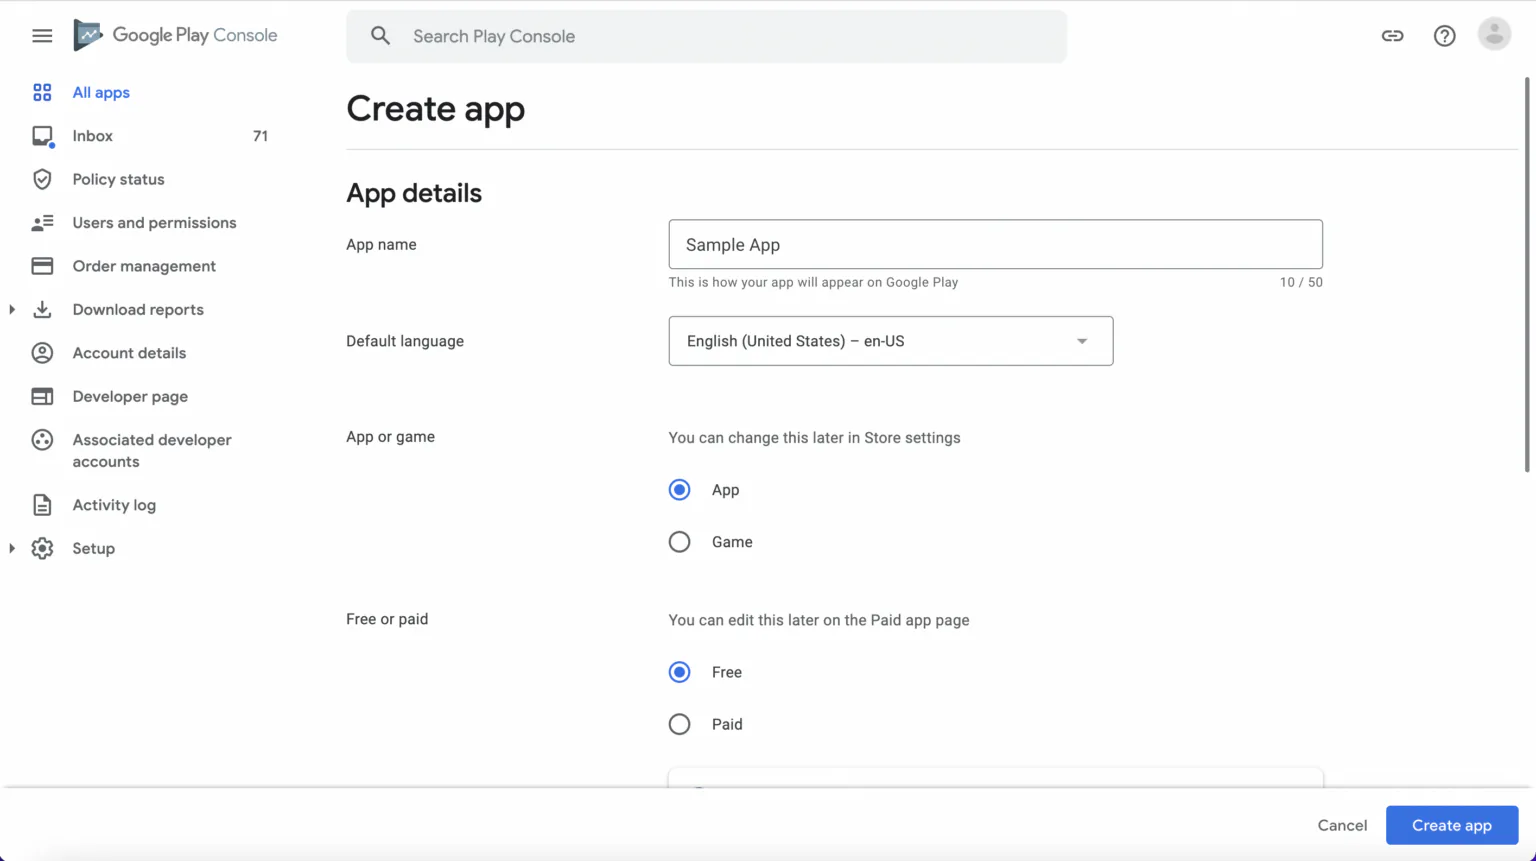
Log in to the Google Play Console and choose Create app from the all apps page.
You will be asked to define the basics:
- App name
- Default language
- App or game
- Free or paid
- Declarations required for the selected app type
Be careful with pricing decisions. Historically, switching a published free app to paid has not been a simple toggle, so make the initial choice deliberately and check the current Play Console rules before launch.
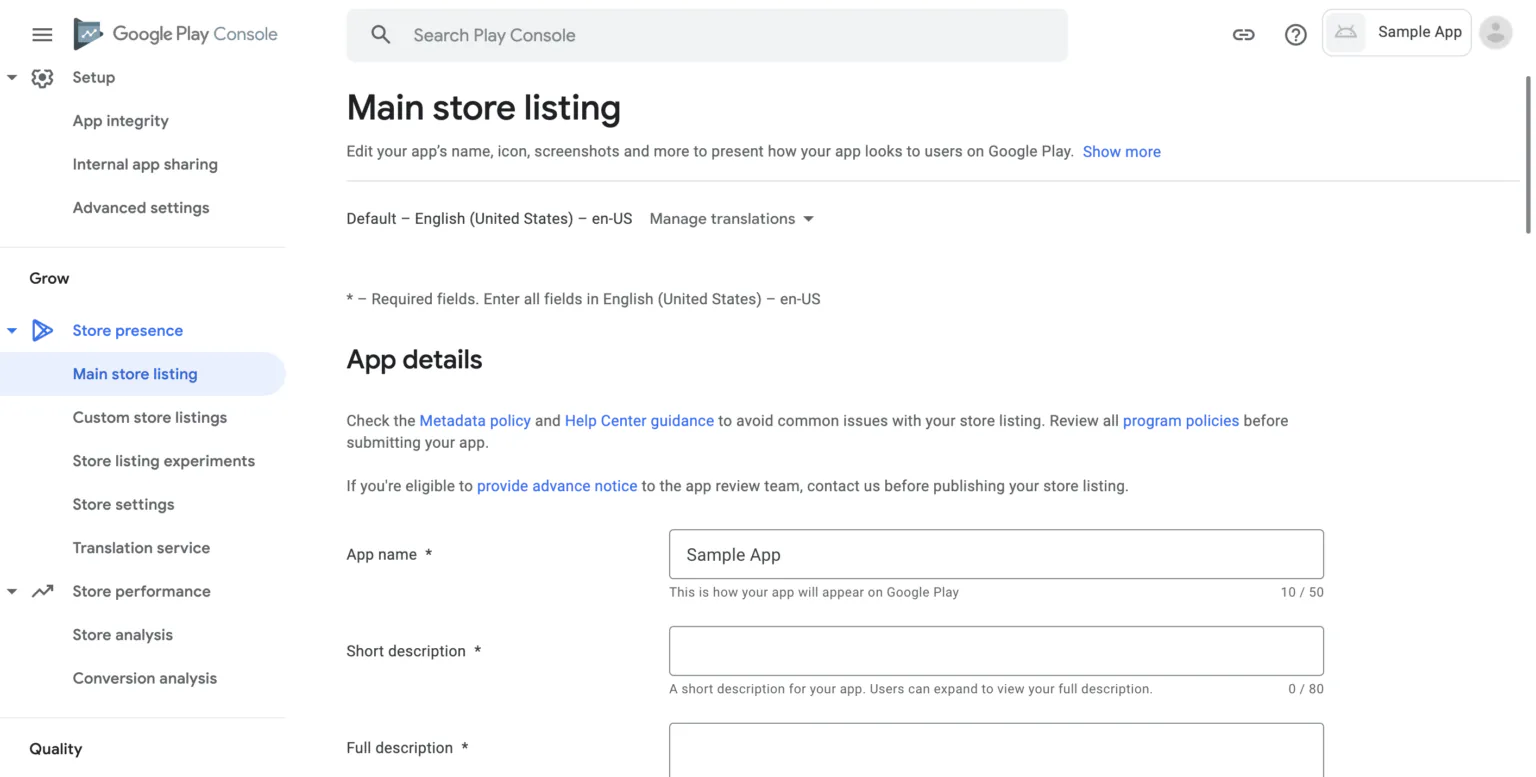
Build the store listing
The store listing is your app’s public product page. It should explain what the app does, who it is for, and why someone should install it.
In Store presence and Main store listing, prepare:
- Short description: A concise summary shown near the top of the listing.
- Full description: A fuller explanation of features, benefits, and use cases.
- App icon: A clean icon that follows Google’s current asset guidelines.
- Feature graphic: A wide visual used in parts of the Play Store experience.
- Screenshots: Phone screenshots, and tablet screenshots if your app supports tablets.
- Video link: Optional, but useful when the product needs motion or workflow context.
Avoid stuffing keywords into the copy. The listing should be easy to read and accurate to the app experience users will actually get.
Add store settings and contact details
Store settings include your category, tags, contact details, and other discovery information. Choose the category that best reflects what the app does, not the category you wish you were ranking in.
Support contact details matter after launch. If users hit a problem, they need a clear way to reach you. If your team uses Gleap, you can connect app feedback and support workflows with your wider integrations setup so reports reach the right tools.
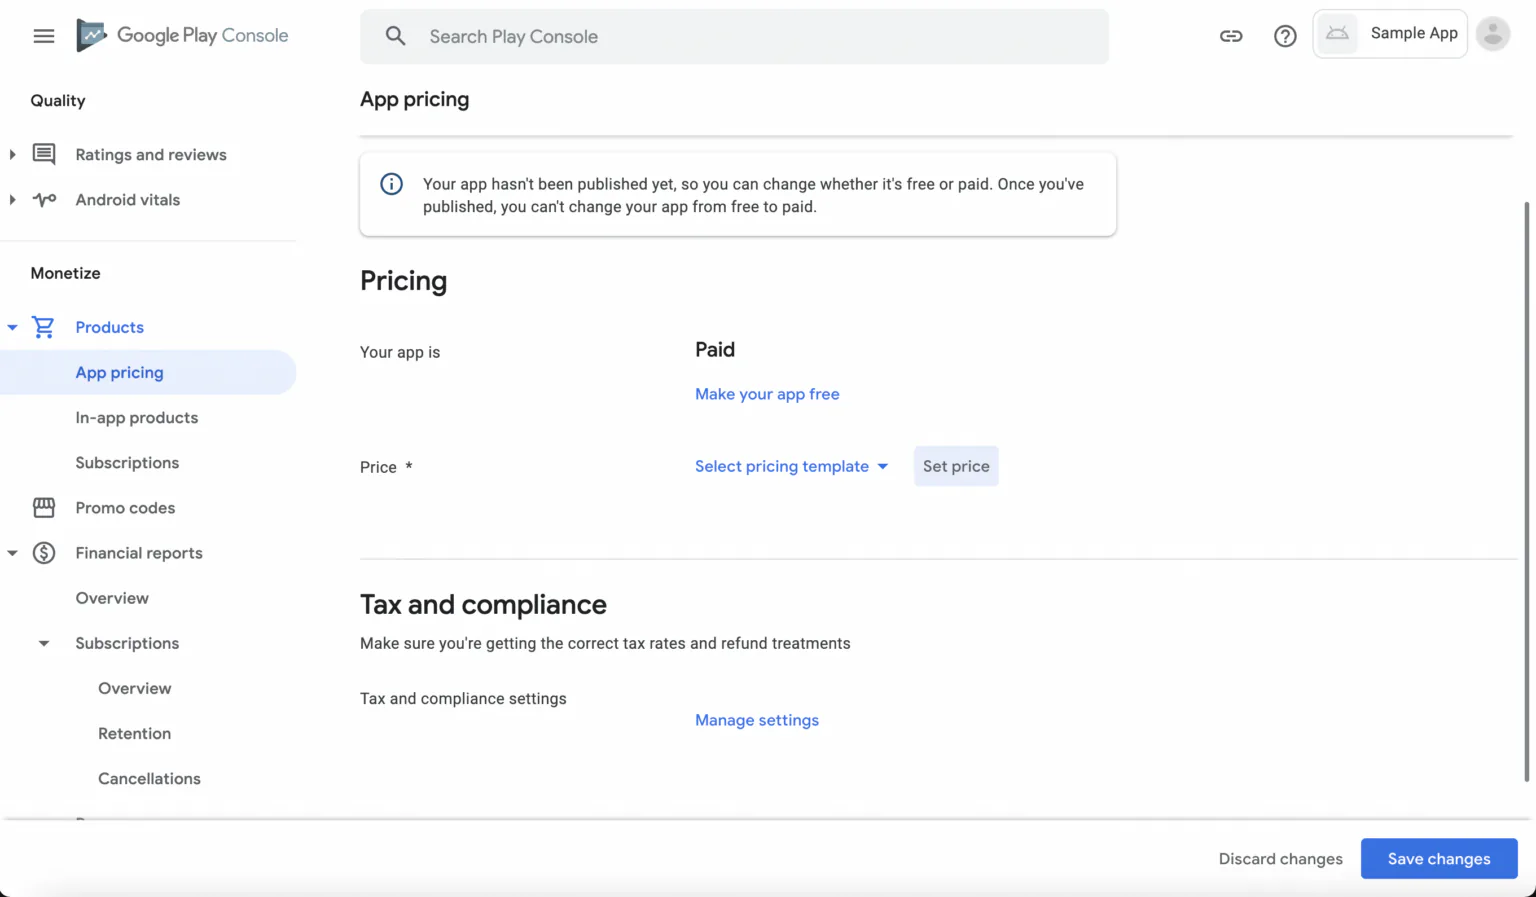
Set pricing and availability
In the pricing section, choose whether the app is free or paid and where it should be available.
If your app is paid, review tax handling, country-specific pricing, and refund expectations. If your app is free but uses subscriptions or in-app purchases, make sure the listing and policy declarations describe the experience clearly.
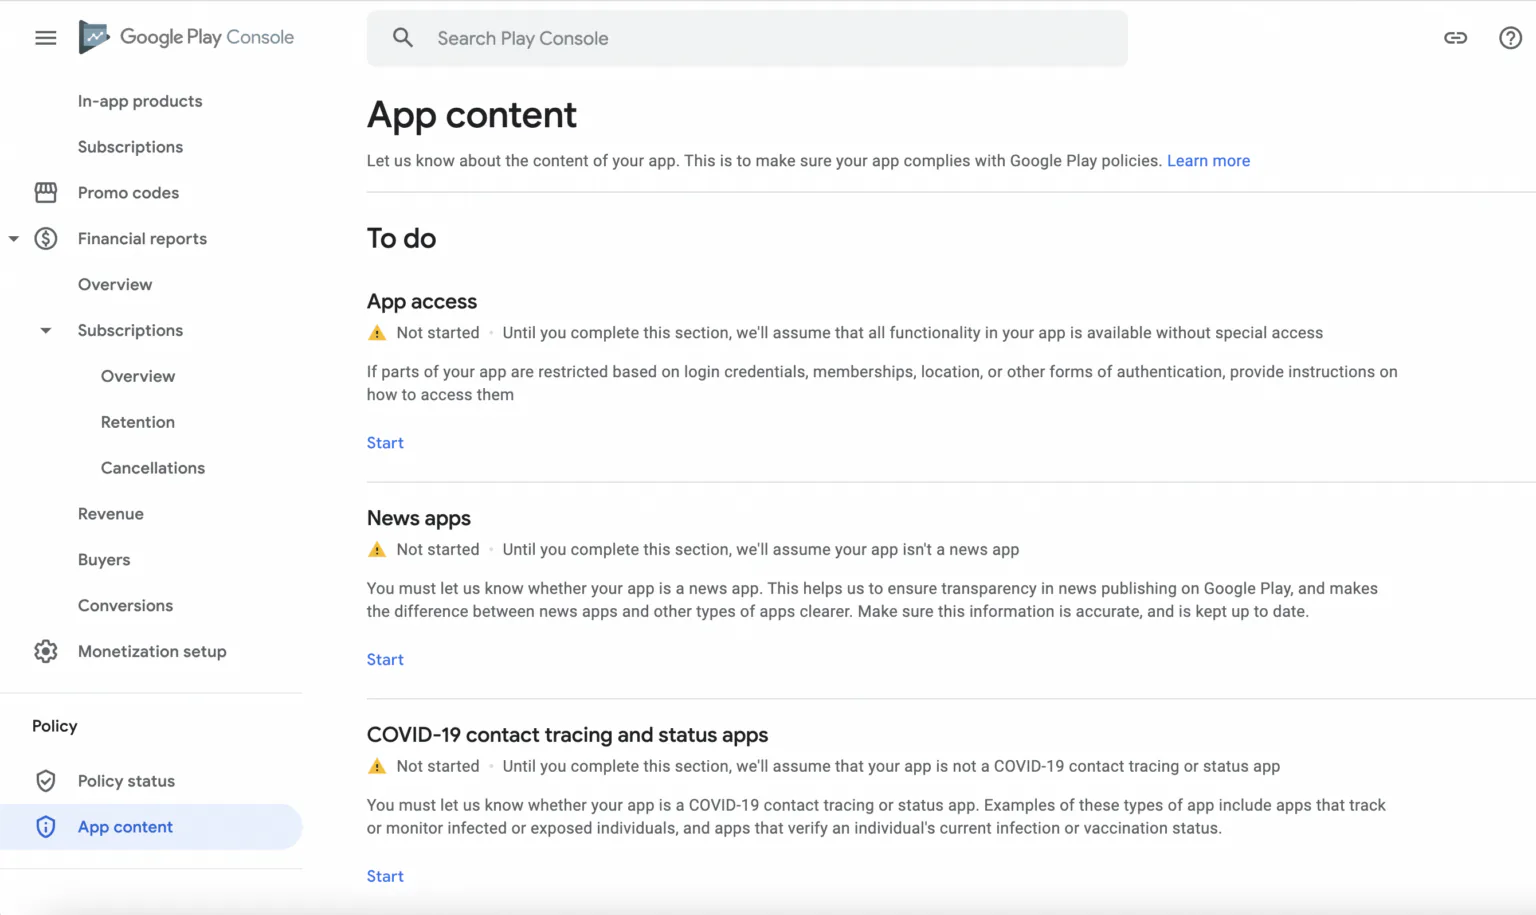
Complete app content declarations
The app content section is where Play Console asks about content rating, target audience, data safety, ads, privacy, and other policy-sensitive details.
Take this part seriously. Incorrect declarations can delay review or create policy problems later. If you are unsure, pause and confirm the answer instead of guessing.
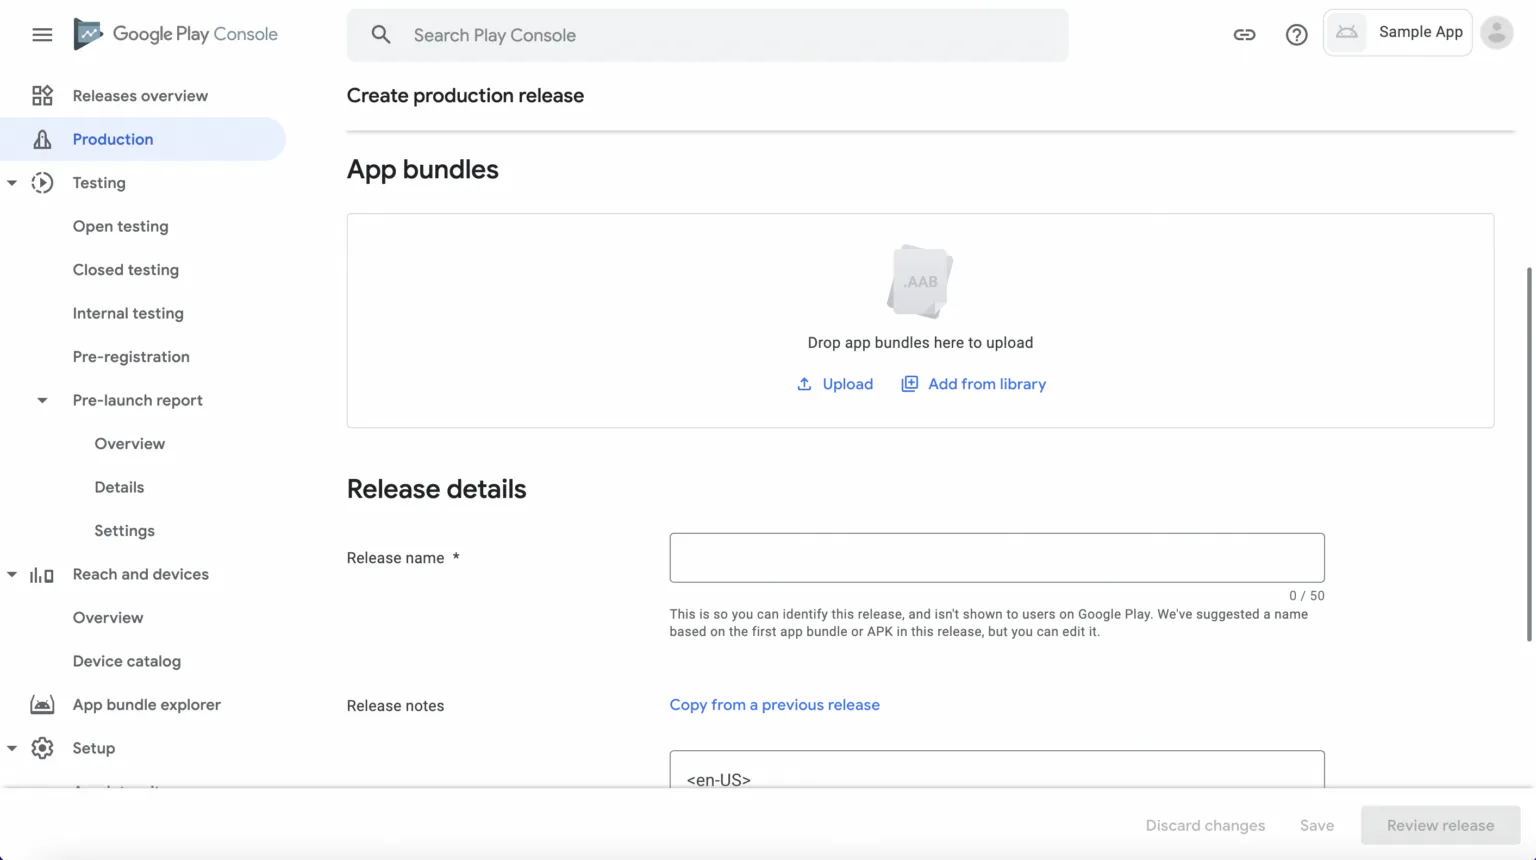
Upload and release your app bundle
When your listing and app content sections are ready, create a production release and upload your signed Android App Bundle.
You will also need a release name and release notes. Good release notes are short, specific, and customer-friendly. Instead of “Bug fixes and improvements,” explain the visible changes when possible:
- Fixed a crash during onboarding
- Improved login error messages
- Added support for tablet layouts
- Updated notification settings
Review before rollout
Before clicking rollout, check:
- The store listing matches the app
- Screenshots are current
- App content forms are complete
- The signed bundle is the intended build
- Release notes describe the update
- Support contact details work
- Your team is ready to monitor feedback
After launch, listen closely. Early reviews, support conversations, and customer feedback surveys can show whether users understand the app, where they get stuck, and which issues should be fixed first.
Publishing is the milestone. Learning from the release is the work that follows.